Smartphone Photography for Beginners: 12 Tricks for Better Shots
Smartphone photography for beginners feels intimidating when everyone else posts stunning shots. I spent months taking blurry, flat photos before learning that great phone pictures come from technique, not expensive gear. Your phone already has an incredible camera hiding inside it. These twelve tricks will transform your everyday snapshots into photos people actually ask about, starting with the simplest habit that changed everything for me.
1. Clean Your Lens First
This sounds almost too basic, but a smudgy lens ruins more photos than any settings mistake. Your phone lives in pockets and purses collecting fingerprints, and that invisible film turns every bright light into a hazy blob. I missed an entire sunset shoot before realizing my lens was the problem.
Keep a microfiber cloth in your pocket or just use the inside of a clean cotton shirt. Wipe gently in circles before every important shot. This ten-second habit instantly sharpens your images and makes colors pop like they should.
2. Tap to Focus, Then Lock Exposure
Your phone guesses what matters in a scene, and it guesses wrong constantly. Tapping your subject tells the camera exactly where to focus, which fixes most blurry photo complaints immediately. But the real magic comes from locking the exposure after tapping.
On iPhone, press and hold until AE/AF LOCK appears. On Android, look for a lock icon after tapping. This exposure lock stops the camera from wildly adjusting brightness between shots. Your photo series suddenly looks consistent instead of randomly bright and dark.
3. Turn On the Rule of Thirds Grid
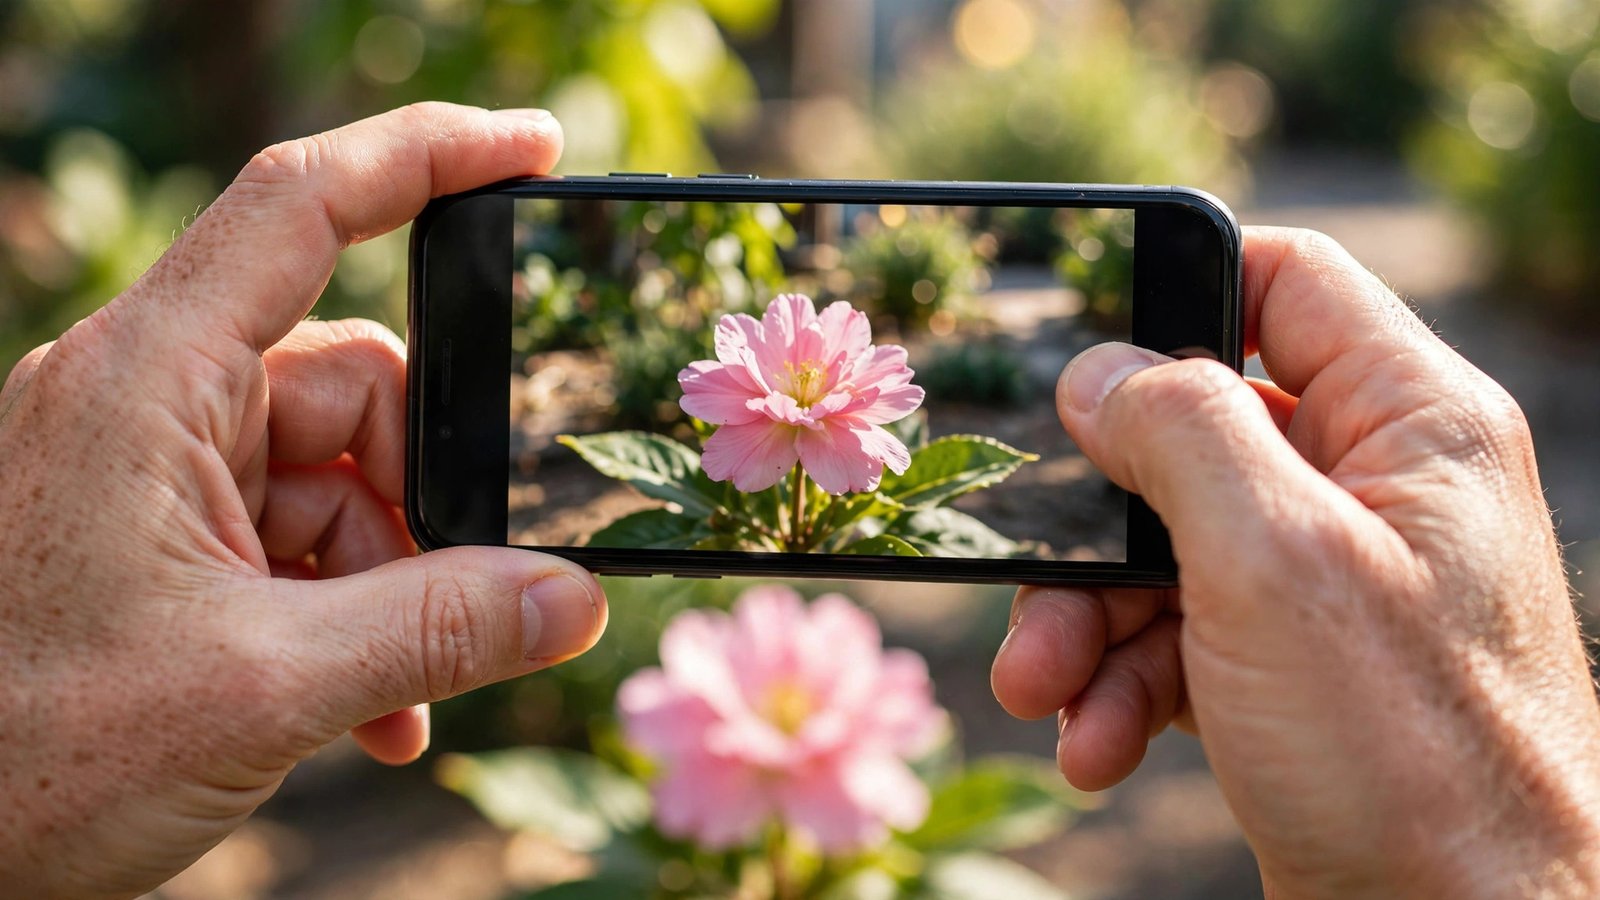
Centering every subject makes photos feel static and amateur. The rule of thirds grid divides your screen into nine sections, and placing subjects along those lines creates instant visual interest. This single change made my food photos go from meh to mouthwatering.
Enable the grid in your camera settings under composition options. Try putting horizons on the lower third line and people on the left or right vertical lines. Your brain already finds this arrangement pleasing, so the photos just feel right without you understanding why.
4. Chase the Golden Hour Light
Harsh midday sun creates ugly shadows and squinting subjects. The hour after sunrise and before sunset bathes everything in warm, soft light that flatters literally anything you photograph. I plan outdoor shoots around these windows whenever possible.
Position your subject with the sun to the side or behind them for a gorgeous glow. If you must shoot at noon, move into open shade under a tree or awning. Soft, diffused light hides skin imperfections and makes colors look rich instead of washed out.
5. Move Closer Instead of Zooming
Digital zoom is basically just cropping your photo smaller, which destroys image quality. Every time you pinch to zoom, you throw away precious pixels and invite graininess. Your feet are the best zoom lens you own, and they cost nothing.
Walk right up to interesting details: the texture of coffee foam, raindrops on a leaf, laugh lines on a face. Close-up shots feel intimate and dramatic in ways wide shots never achieve. If you cannot physically get closer, take the wide shot and crop later in editing.

6. Master Portrait Mode
Portrait mode blurs the background to make subjects pop, mimicking expensive camera lenses. It works beautifully for people, pets, and even food when you get the distance right. Most phones need you standing six to eight feet from the subject for the best effect.
Watch for the depth effect preview before shooting, and tap to focus on the eyes for people shots. Avoid busy backgrounds with thin objects like fences, since the blur algorithm gets confused. When it works, though, the results look genuinely professional enough to print.
7. Follow Leading Lines
Roads, fences, shorelines, and hallways naturally pull the viewer’s eye through your photo. Positioning these lines to guide toward your subject creates depth and drama from the most ordinary scenes. I started noticing leading lines everywhere once I learned to look for them.
Stand so the line starts near a bottom corner and angles toward your main subject. Bridges, staircases, and even rows of trees work perfectly. This technique turns boring snapshots into compositions that hold attention, and it requires zero extra equipment or editing skills.
8. Change Your Angle Dramatically
Everyone shoots from standing eye level, which is exactly why those photos all look the same. Crouch down low, climb somewhere high, or tilt the phone sideways to reveal perspectives people rarely see. Some of my favorite shots came from lying on the ground in a park.
Getting low makes subjects look powerful and heroic, while shooting down from above flatters food and flat objects. Try photographing kids or pets at their eye level instead of looming above them. A fresh angle instantly makes familiar subjects feel new and interesting.

9. Edit Every Keeper Photo
Professional photographers edit everything, and your phone photos deserve the same treatment. Free apps like Snapseed and Lightroom Mobile can rescue dull shots in under a minute. I used to skip editing until I saw the before-and-after difference on a friend’s phone.
Start simple: bump up brightness slightly, add a touch of contrast, and warm up the colors if they look flat. The selective edit tools let you brighten just faces without blowing out skies. Small adjustments compound into dramatically better images, and the apps teach you as you play.
10. Use Burst Mode for Action
Kids, pets, and sports move too fast for single shots, leaving you with perfectly timed blurs of nothing. Burst mode fires off dozens of frames per second so you can pick the exact moment everything aligns. This trick saved my nephew’s birthday cake photos from total disaster.
On iPhone, swipe the shutter button left or hold volume up. On most Android phones, just hold the shutter button down. Scroll through the burst afterward and save only the sharpest two or three frames. Delete the rest immediately or your storage will cry for mercy.
11. Embrace Night Mode
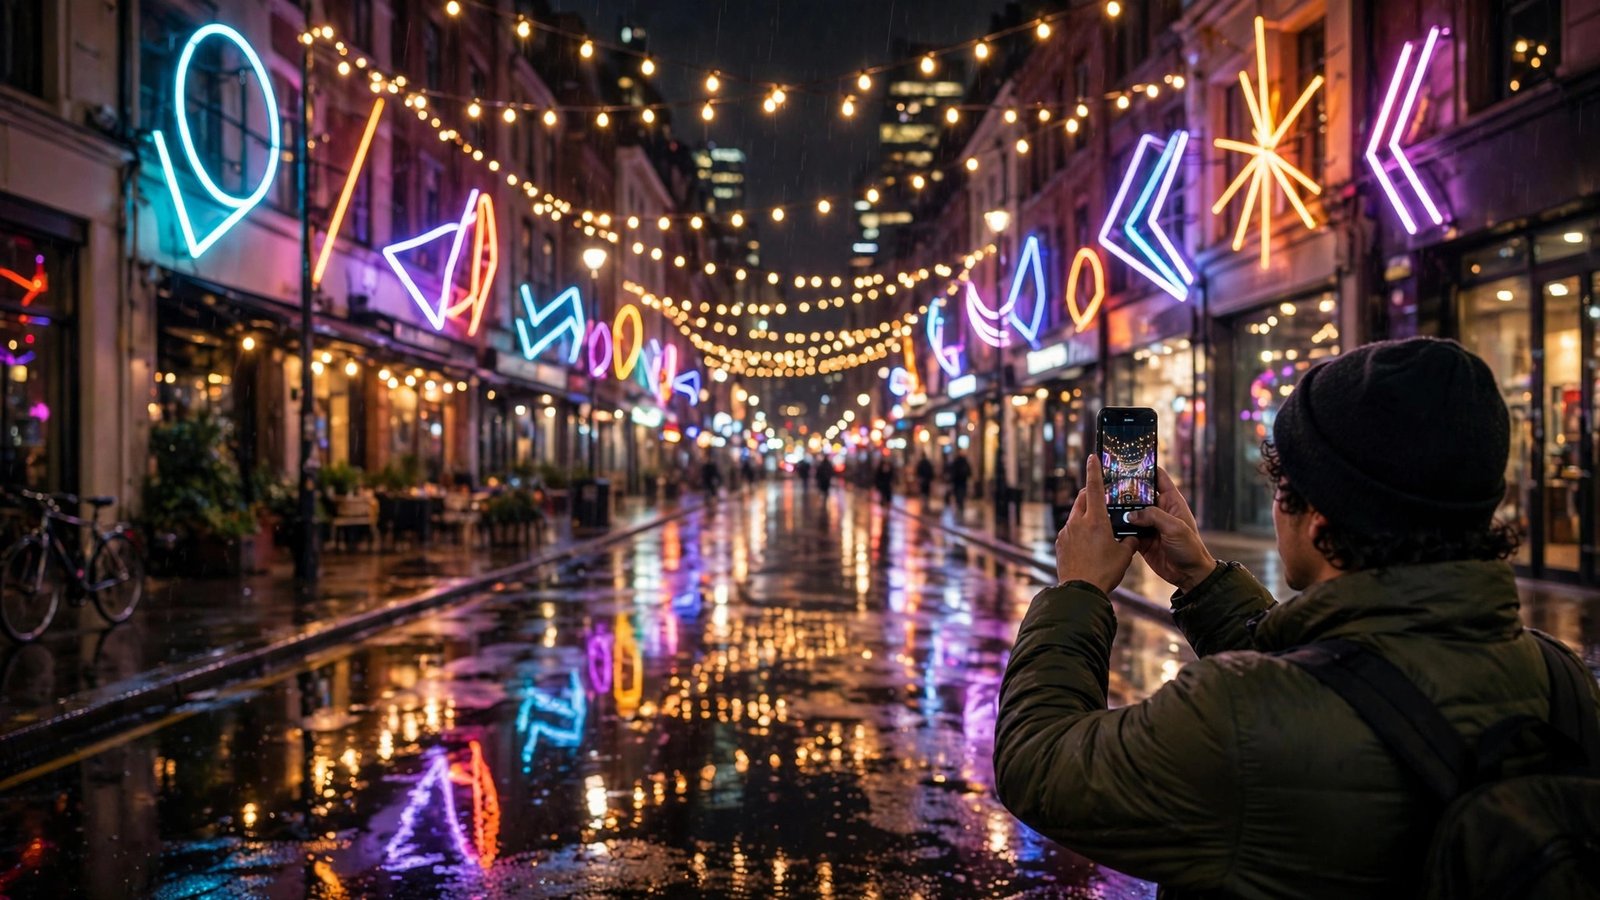
Phone cameras used to produce garbage after dark, but modern night modes work like actual magic. They capture multiple exposures and blend them into bright, detailed images that look nothing like the grainy messes from five years ago. City lights and campfire scenes finally photograph beautifully.
Hold the phone as still as possible during the two to three second capture, or prop it against something solid. Night mode loves interesting light sources, so seek out neon signs, string lights, and illuminated windows. The results regularly surprise people who assume you used a real camera.
12. Capture Candid Moments
Posed photos where everyone stares stiffly at the camera rarely capture real personality. The best smartphone photography for beginners often means shooting quietly during genuine moments: laughter at dinner, concentration during a game, wonder at something new. These candids become the photos people treasure.
Keep your phone accessible and the camera app ready so you can shoot in two seconds. Turn off the flash to stay invisible, and take several frames since expressions change fast. Some of my most complimented photos are slightly imperfect candids that radiate authentic emotion no posed shot could fake.
FAQs
Do I need an expensive phone for good smartphone photography?
Not at all. Any phone from the last three or four years has a capable camera. Technique matters far more than hardware: clean lens, good light, thoughtful composition, and basic editing will beat an expensive phone in careless hands every time. Upgrade your skills before upgrading your device.
What is the best free photo editing app for beginners?
Snapseed remains the best free option with powerful tools wrapped in a friendly interface. Google Photos also includes surprisingly good auto-enhance and manual controls built right in. Start with one app, learn its basic adjustments, and only explore advanced tools once the fundamentals feel natural.
Why do my indoor phone photos always look yellow or grainy?
Indoor lighting confuses phone cameras with mixed color temperatures and low brightness. Move subjects near windows for natural light whenever possible. If stuck indoors, tap to lock focus and exposure, then slide the brightness down slightly to reduce grain. Night mode can also work wonders for dim indoor scenes.
How do I take sharper smartphone photography for beginners without blur?
Blur usually comes from movement during capture. Hold the phone with both hands, tuck your elbows against your body, and exhale gently as you tap the shutter. In low light, brace against a wall or set the phone on a stable surface. Burst mode also helps by giving you multiple chances at a sharp frame.
Should beginners shoot in RAW on their phones?
RAW files capture more data for serious editing, but they also eat storage and require extra processing steps. Most beginners get better results shooting standard JPEG or HEIC and learning composition first. Switch to RAW later if you fall in love with detailed editing and have the storage space to spare.
Conclusion
Great smartphone photography for beginners is really about paying attention: to light, to moments, to the little details everyone else walks past. Pick two or three tricks from this list, practice them for a week, and watch your camera roll transform. What will you photograph first with your new skills?