Affordable Starter Gear for New YouTubers: 10 Creator Essentials
Good starter gear for YouTubers beats an expensive camera every single time, and I wish someone had told me that before I blew my savings on a mirrorless body I barely used. My first 50 videos were shot on a phone with a $25 microphone, and they outperformed the “cinematic” stuff I made later. Gear doesn’t make videos good, but bad gear makes good videos unwatchable. Here’s what actually matters.
1. A USB Microphone (Audio First, Always)
Viewers forgive shaky video, but they click away from bad audio in seconds. A USB condenser mic like the Samson Q2U or Audio-Technica ATR2100x costs under $70 and sounds shockingly professional. This is the highest-impact purchase a new creator can make, full stop.
These mics also have XLR outputs, so they grow with you when you eventually buy an interface. Record in a closet full of clothes for free acoustic treatment. Clean audio quality is what separates amateurs from pros, not the camera.
Dynamic mics like the Q2U also reject room echo better than condensers, which matters if your room isn’t treated. Speak about six inches away and slightly off-center to avoid harsh pops. I recorded 80 episodes on a $60 mic before anyone asked what I was using, which tells you everything.
2. Your Smartphone (Seriously, It’s Enough)
Modern phones shoot 4K video that embarrasses camcorders from five years ago. Until you have 1,000 subscribers, your phone is not the bottleneck, your ideas are. Every dollar you don’t spend on a camera is a dollar for things that matter more.
Lock the exposure, shoot in good light, and clean the lens before every take. I filmed an entire series on a three-year-old phone and nobody noticed. The best starter camera is the one already in your pocket.
Use the rear camera, not the selfie cam, since it’s dramatically sharper on every phone. A cheap Bluetooth remote lets you start and stop recording without running back and forth. Filmic Pro unlocks manual controls if you outgrow the stock camera app, and it costs less than lunch.
3. A Budget Ring Light or Softbox
Lighting is the difference between “filmed in a dungeon” and “looks professional.” A $30 ring light or a pair of cheap softboxes transforms your face on camera instantly. Good light makes a phone camera look like a cinema camera.
Place the light at 45 degrees, not straight on, for flattering shadows. Natural window light works too, just face the window and shoot during the day. Proper video lighting is a bigger upgrade than any camera body.
Avoid overhead ceiling lights, which carve unflattering shadows under your eyes. If you can only afford one light, make it a softbox rather than a ring light, since it looks more natural. I shot for a year with a $25 softbox and a white shower curtain as a diffuser, and the results looked genuinely professional.
4. A Sturdy Tripod or Phone Mount
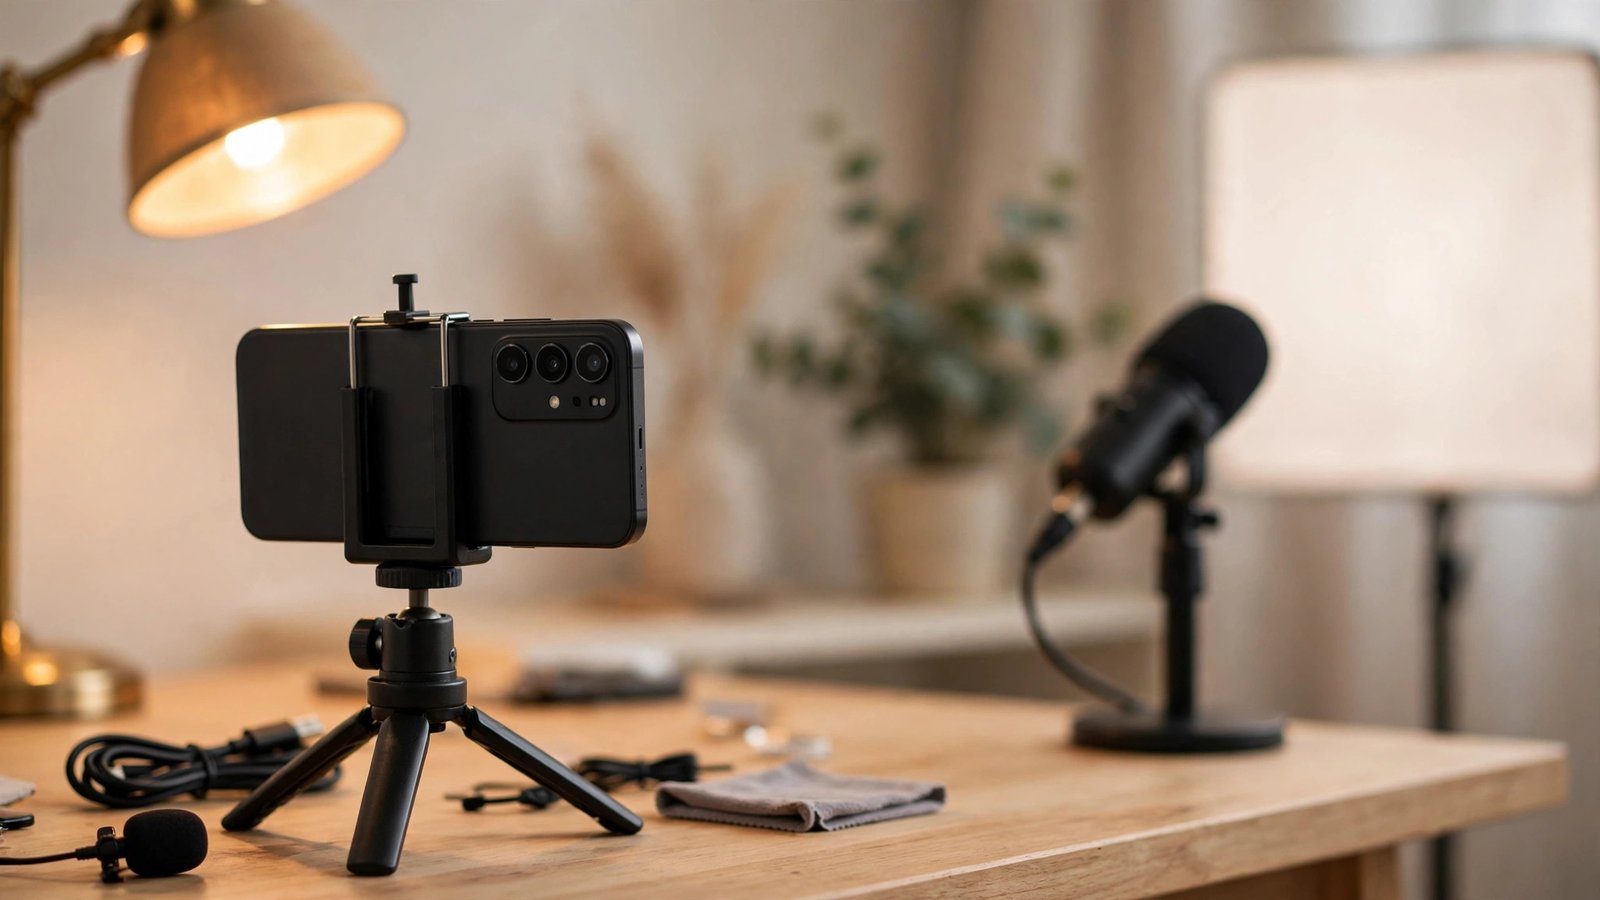
Shaky footage screams amateur faster than anything else. A $25 tripod with a phone mount keeps every shot rock steady, and it doubles as a stand for overhead shots. Your arms will thank you during long recording sessions too.
Get one with adjustable height so you can shoot at eye level while sitting. Eye-level framing looks natural, while looking down at a phone on a desk looks like a hostage video. Stable camera support is cheap and non-negotiable.
A small tabletop tripod works for desk setups and packs into any bag. For overhead shots of desks or hands, a cheap articulated arm clamped to the table beats a full tripod. I use a $20 gooseneck mount for top-down shots and it hasn’t failed me in two years.
5. Free Editing Software That Isn’t Terrible
DaVinci Resolve is free and more powerful than software people paid $300 for a decade ago. CapCut handles quick mobile edits beautifully. You do not need Premiere Pro on day one, and the subscription would eat your gear budget alive.
Learn keyboard shortcuts early, they compound into hours saved. Watch one beginner tutorial series and you’ll know enough for 90% of YouTube editing. Free editing software removed the last excuse for not starting.
Resolve’s cut page is perfect for beginners and hides the complexity until you need it. Export in H.264 at a high bitrate for YouTube, since the platform recompresses everything anyway. I edited my first 100 videos in Resolve without paying a cent, and the only limitation I ever hit was my own skill.
6. A Pop Filter and Mic Arm
Plosives, those harsh “p” and “b” pops, make audio sound cheap instantly. A $10 pop filter fixes it completely. A $30 scissor mic arm gets the mic close to your mouth and off your desk, which kills keyboard noise and vibrations.
Position the mic a fist’s width from your mouth, slightly off-axis. This $40 combo makes a $70 mic sound like a $300 one. Small audio accessories deliver absurd value per dollar.
Foam windscreens help with breath noise if you record close to the mic. Keep the arm’s springs from creaking by tightening every joint before you record. These tiny details are what make listeners think you recorded in a studio instead of a bedroom.
7. A Backdrop That Doesn’t Distract
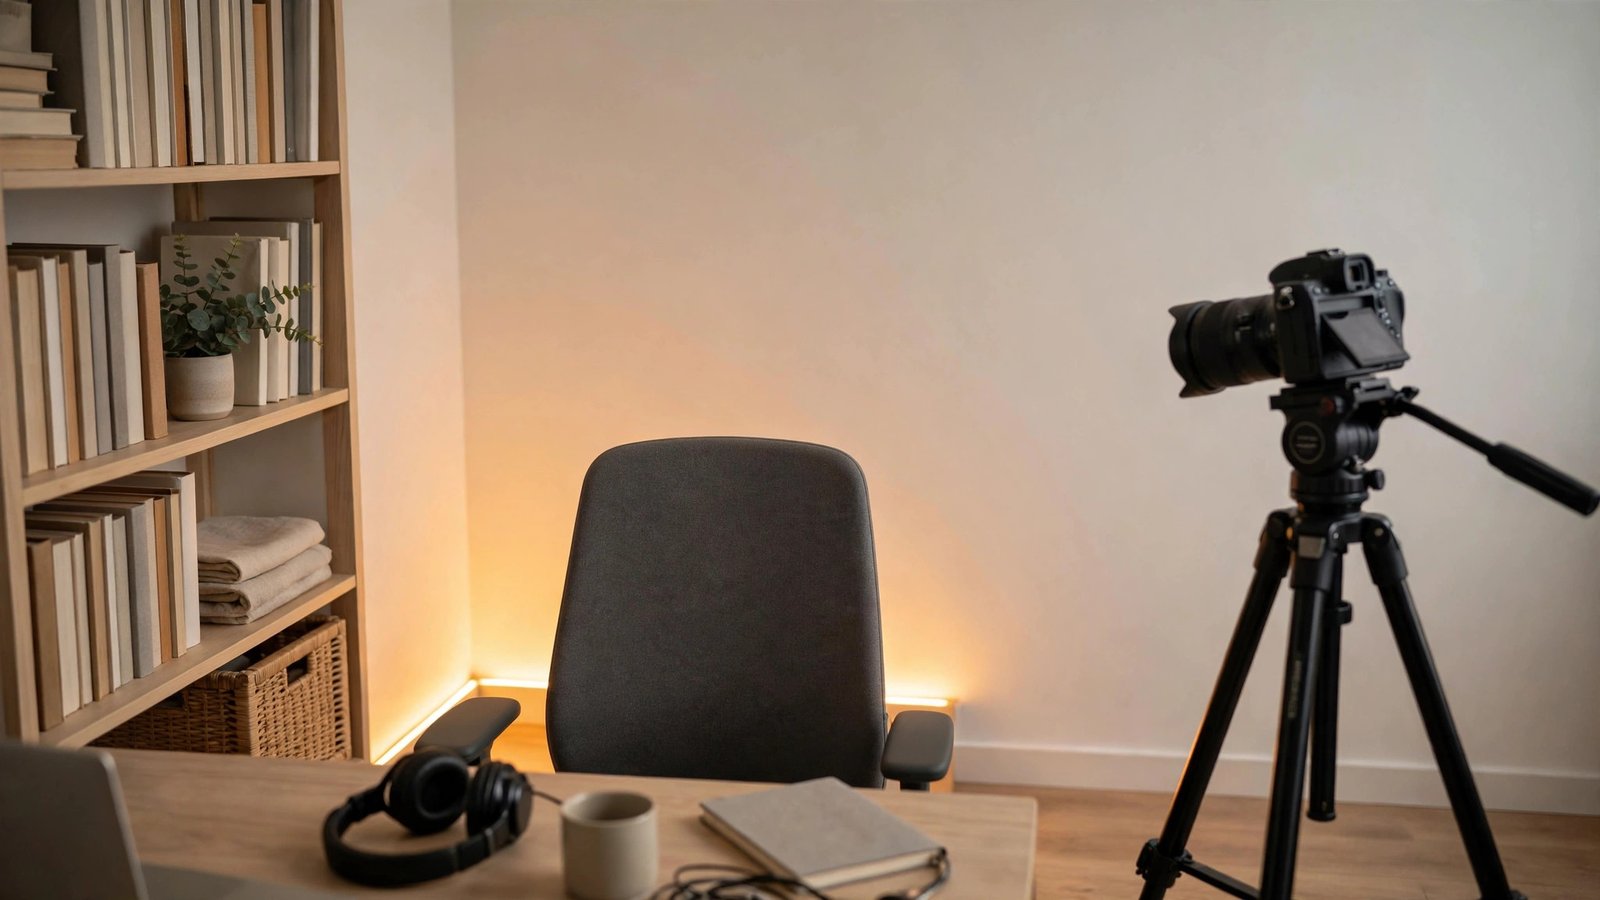
Nobody cares about your setup tour on day one, but a messy background distracts viewers. A $20 collapsible backdrop, a clean wall, or even a tidy bookshelf works. The goal is “not distracting,” not “impressive.”
Keep the background slightly out of focus if your phone has portrait video mode. Depth makes even a plain wall look intentional. A clean video backdrop keeps eyes on you, where they belong.
Add one warm practical light, like a cheap LED strip behind you, for depth and separation from the background. Avoid anything flashing or animated behind you, since motion pulls attention away from your face. I use a $15 LED strip set to warm white, and viewers constantly ask about my “studio.”
8. Thumbnail Tools (Free Ones Work)
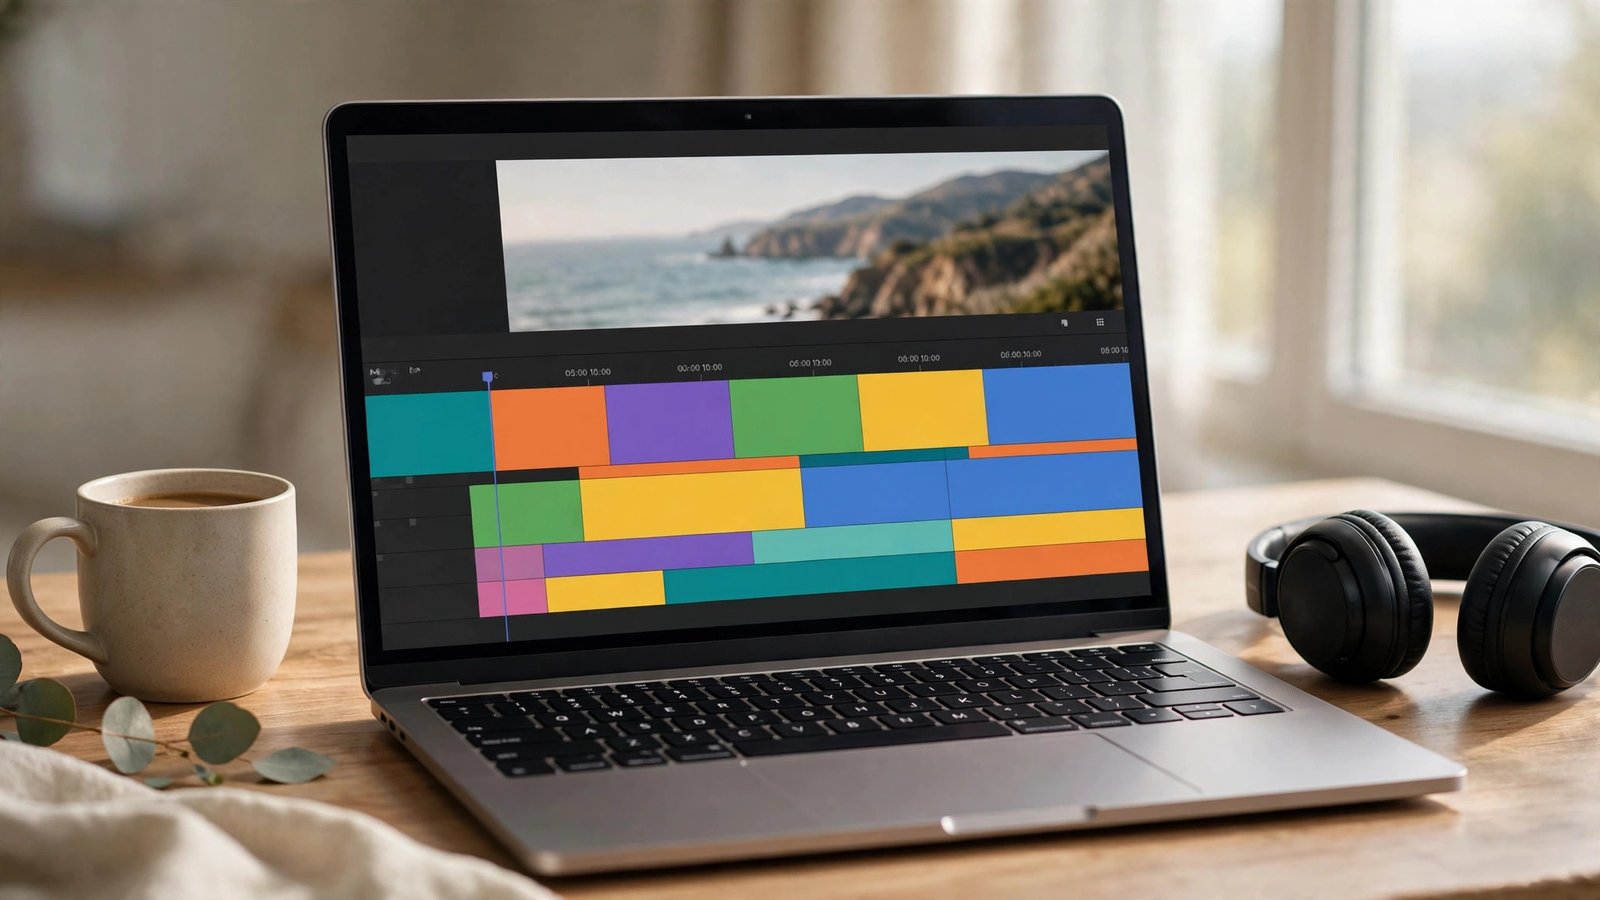
Thumbnails decide whether anyone clicks, and Canva’s free tier makes genuinely good ones. Big text, expressive face, high contrast, that’s the formula. Spend 30 minutes per thumbnail, it matters more than 30 extra minutes of editing.
Study thumbnails in your niche and note the patterns. Bright colors and readable text at tiny sizes win. Your thumbnail game is marketing, and marketing is half of YouTube.
Test two thumbnail styles for the same video by swapping after 48 hours and comparing click-through rates. Faces with strong emotions consistently outperform object-only thumbnails. I doubled my click-through rate just by zooming in closer on my face and using fewer words.
9. A Portable Hard Drive for Footage
Video files eat storage terrifyingly fast. A 1TB portable drive costs around $50 and saves you from the nightmare of a full laptop mid-project. Losing footage to a dead drive is a rite of passage you should skip.
Back up after every shoot, not “later.” Later becomes never, and never becomes tears. A dedicated backup drive is the cheapest insurance in all of content creation.
Organize footage by date and project so you can find anything in seconds. Keep a second copy of finished videos in cloud storage as a final safety net. I lost a full week of footage once to a corrupted SD card, and the $50 drive I bought the next day has saved me three times since.
10. Patience (The Only Free Essential)
The algorithm doesn’t owe you views, and your first videos will flop. Every big YouTuber has a graveyard of videos with 12 views. The creators who win are the ones who kept uploading while nobody watched.
Commit to 50 videos before judging anything. By then your skills, voice, and instincts will be unrecognizable. Consistent upload discipline beats every piece of gear on this list combined.
Batch-record multiple videos in one session to stay ahead of schedule. Having a backlog removes the panic when life gets busy and keeps your upload streak alive. The creators who treat YouTube like a habit, not a lottery ticket, are the ones still here in two years.
FAQs
What is the most important starter gear for YouTubers on a tight budget?
A good USB microphone, without question. Audio quality determines whether viewers stay or leave more than any other factor. A $60 mic with your phone camera outperforms a $1,000 camera with built-in audio every time. If you buy one thing, make it the mic.
Can I really start YouTube with just my phone?
Yes, absolutely. Modern smartphones shoot excellent 4K video with good stabilization. Pair your phone with decent lighting and a USB mic, and your production quality will match channels with ten times your subscriber count. Upgrade the camera later when your revenue justifies it.
How much should a beginner spend on starter gear for YouTubers?
Around $150 to $250 covers everything that matters: USB mic, tripod, ring light, pop filter, and a hard drive. Your phone handles the camera. Anything beyond that is nice but unnecessary until you’re growing. Many successful channels started with even less.
Do I need a fancy camera to grow on YouTube?
No. Content quality, consistency, and thumbnails drive growth, not camera specs. Some of the biggest channels still shoot on phones or webcams. A fancy camera helps once you have an audience, but it won’t create one. Spend your early energy on ideas and delivery instead.
What free editing software is best for new YouTubers?
DaVinci Resolve is the best free option for desktop, with professional color grading and editing tools at zero cost. CapCut is excellent for quick mobile edits and trending formats. Both have huge tutorial libraries on YouTube itself. Start free and only pay for software when you hit a real limitation.
Conclusion
Starter gear for YouTubers is about removing excuses, not impressing anyone. Grab the mic, fix your lighting, and upload that first video this week. What’s the video idea you’ve been sitting on?